You are using an out of date browser. It may not display this or other websites correctly.
You should upgrade or use an alternative browser.
You should upgrade or use an alternative browser.
The Yurt Chimney
- Thread starter Jafo
- Start date

Looks good! How will you anchor the chimney to the metal post?
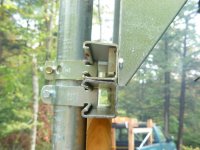
I will be using the unistrut pictured in this post. We will be doing that today, and most likely staying at the yurt for the night, but I will try to post the images up tomorrow. I google'd unistrut looking for images, and this diagram kind of gives you an idea of how it mounts to the post:
![pipe_clamp[1].jpg](https://www.yurtforum.com/forums/data/attachments/0/147-8190346555bb1aa7f94ffdd40acad193.jpg?hash=GHNK5MGf2b "pipe_clamp[1].jpg")
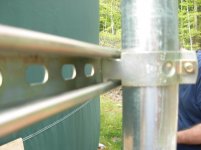
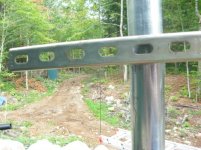
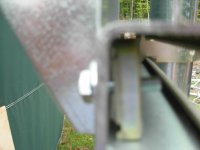
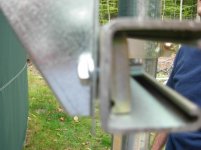
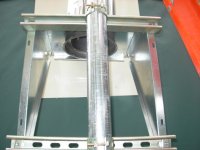
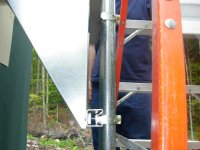
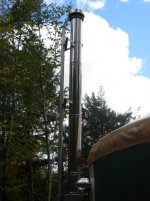
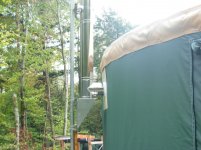
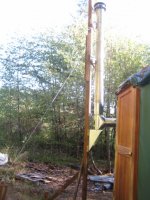
Here are some more shots of the chimney. We still had the post stabilized with some rope, but that was only temporary. The concrete had only sat up for one day at this point:
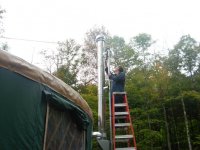
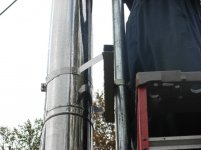
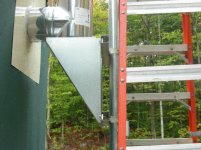
Notice how we slid the metal flashing under the roof cover. This keeps water from getting behind it. We didn't see that in the directions, but figured it makes sense.
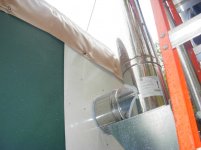
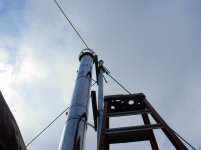
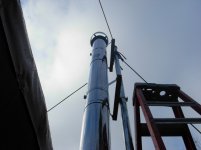
Notice how we slid the metal flashing under the roof cover. This keeps water from getting behind it. We didn't see that in the directions, but figured it makes sense.
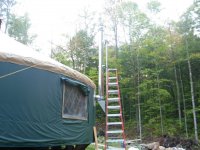
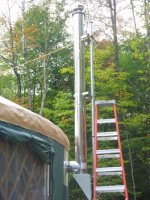

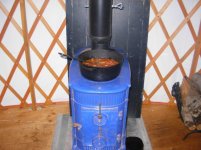

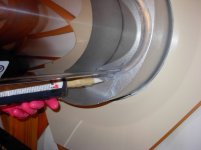
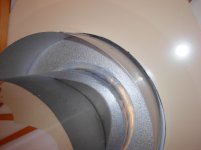
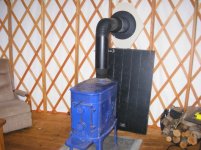
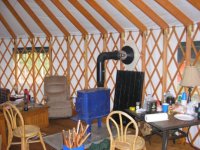
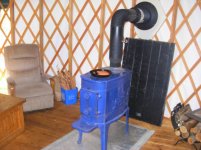
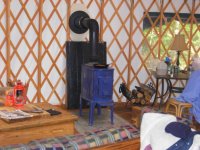
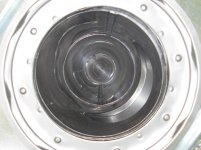
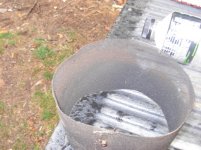
Ok, we thought we could use old screen for a spark arrestor.. Bad idea.. It clogged up in about 30 minutes and reduced the draft to nothing. On a good note, we found some spots in the pipe that were a little leaky, but not before we smoked the hell out of ourselves lol! Here is what the screen looked like after we took it out:
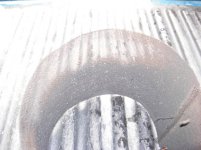
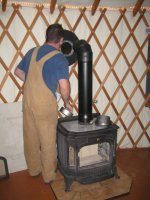
Here is the final product, all completed. The draft is now excellent! We had to let the paint on the pipe burn in, but once that was done, no haze at all in the place. You can open the wood stove 100% with no smoke coming out!
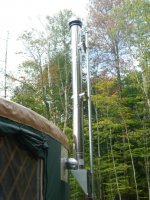
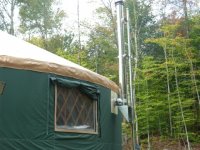
You can see we put in a 2X6 piece of pressure treated, mostly just as a failsafe in case any of the strut supports came loose, the chimney would not slide down. The chances of that happening without it are like a million to one, but why not?
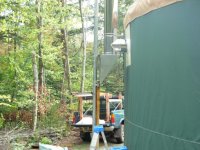
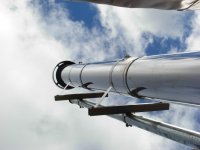
You can see we put in a 2X6 piece of pressure treated, mostly just as a failsafe in case any of the strut supports came loose, the chimney would not slide down. The chances of that happening without it are like a million to one, but why not?
This is a really slick setup jafo. You say you bought all that stuff at the hardware store?
What are the dimensions of that hole and how many lbs of concrete did you end up using to fill it?
Yep, though you may have to shop around for that pipe. We ended up cutting 19" off the 21' pipe.
We basically dug the hole until we couldn't go any deeper, and with the rocky soil it was a challenge. We did it with picks and shovels! The whole ended up being almost 3 feet deep, and I believe 28" across, but I can't remember the exact dimensions. Once we did the math, we widened the hole until we calculated that we would use all the concrete. That pole doesn't budge an inch.
Corinarose
New member
Jafo,
Looks great!!!! Sleak and sturdy looking
I look forward to hearing your answer to bss
The one thing that I noticed or perhaps didnt notice was the metal plates on either side of the wall dont appear screwed into one another.
Corina
Looks great!!!! Sleak and sturdy looking
I look forward to hearing your answer to bss
The one thing that I noticed or perhaps didnt notice was the metal plates on either side of the wall dont appear screwed into one another.
Corina
Which question was that Corina?
The metal in the through the wall kit is indeed connected together, but that was done right at the end so I didn't get a picture of it. I like the way it just all matches. The silver pipe matches the silver chimney and it all just seems to go together.
The metal in the through the wall kit is indeed connected together, but that was done right at the end so I didn't get a picture of it. I like the way it just all matches. The silver pipe matches the silver chimney and it all just seems to go together.
Pacific Yurts
Manufacturer Representative, Pacific Yurts
The finished chimney assembly looks great! With the next printing of our Set Up Manual I hope to include more detailed information about the stove installation and incorporate photos. The questions I've seen on this site are helpful in deciding what information would be best to include to further improve the manual.
The finished chimney assembly looks great! With the next printing of our Set Up Manual I hope to include more detailed information about the stove installation and incorporate photos. The questions I've seen on this site are helpful in deciding what information would be best to include to further improve the manual.
That's great! We didn't have too much trouble, but I can see how daunting it is because you have to make such a bold modification to some pretty expensive pieces of the yurt. One thing you might want to add, since we took so much time with it, is to make 100% sure you can dig in the spot you are going to put your support in. It would be a tragedy if you cut the opening and found out the post just could not go there!
I used the stove over the weekend and it got down in the mid 30's. Many times I had to open the roof, it was just too hot, but I also haven't used a wood stove in over 20 years. Worked perfect!
We stayed very warm with the install of the Earth Stove t150C stove we installed. Burned all night for two nights for us. Temps well into the 30's outside and held a very comfortable 66 on a nice big fir log and a good madrone one to go the distance too.
This was replacing a Dovre NT400 which had been run on propane. Nice working stove, but I just like burning wood.
It took me a while to work up the sheetmetal for the inside flue part, and ended up having to cut my own adapter for the collar to flue pipe anyways. I put up 9' of metalbestos and will probably go up another two feet just for giggles.
Thus, I decided not to pour concrete until I had 100% decided on how tall I wanted the support pole to be. So I instead kind of rebuilt and re-guy wired the existing pole, which would probably last at least another five years. I'll play with the stack height and see where I'm getting the right draw, esp. when it's real cold out.
This was replacing a Dovre NT400 which had been run on propane. Nice working stove, but I just like burning wood.
It took me a while to work up the sheetmetal for the inside flue part, and ended up having to cut my own adapter for the collar to flue pipe anyways. I put up 9' of metalbestos and will probably go up another two feet just for giggles.
Thus, I decided not to pour concrete until I had 100% decided on how tall I wanted the support pole to be. So I instead kind of rebuilt and re-guy wired the existing pole, which would probably last at least another five years. I'll play with the stack height and see where I'm getting the right draw, esp. when it's real cold out.
Attachments
Last edited: